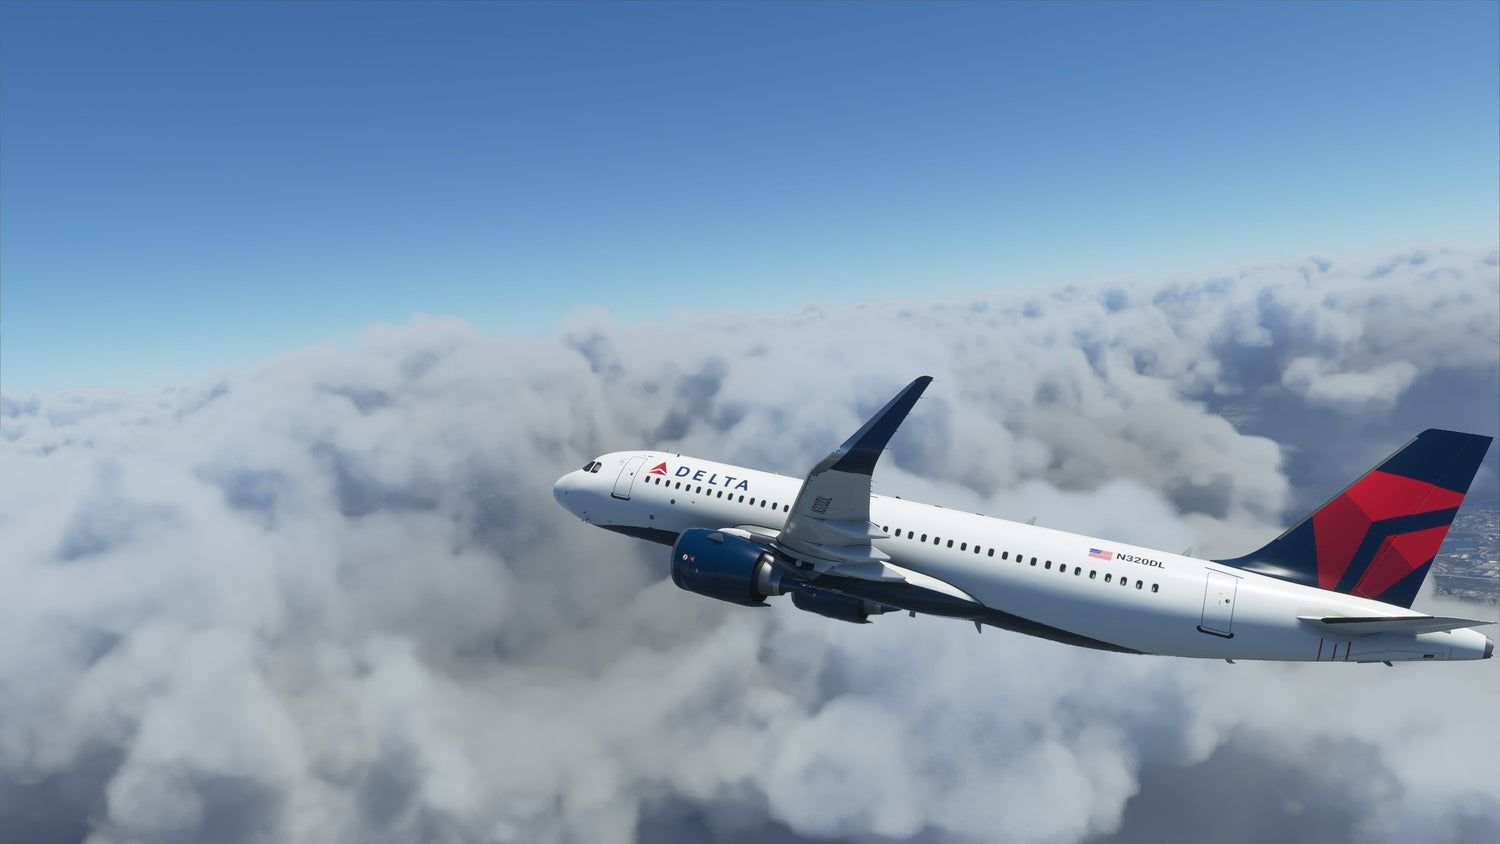
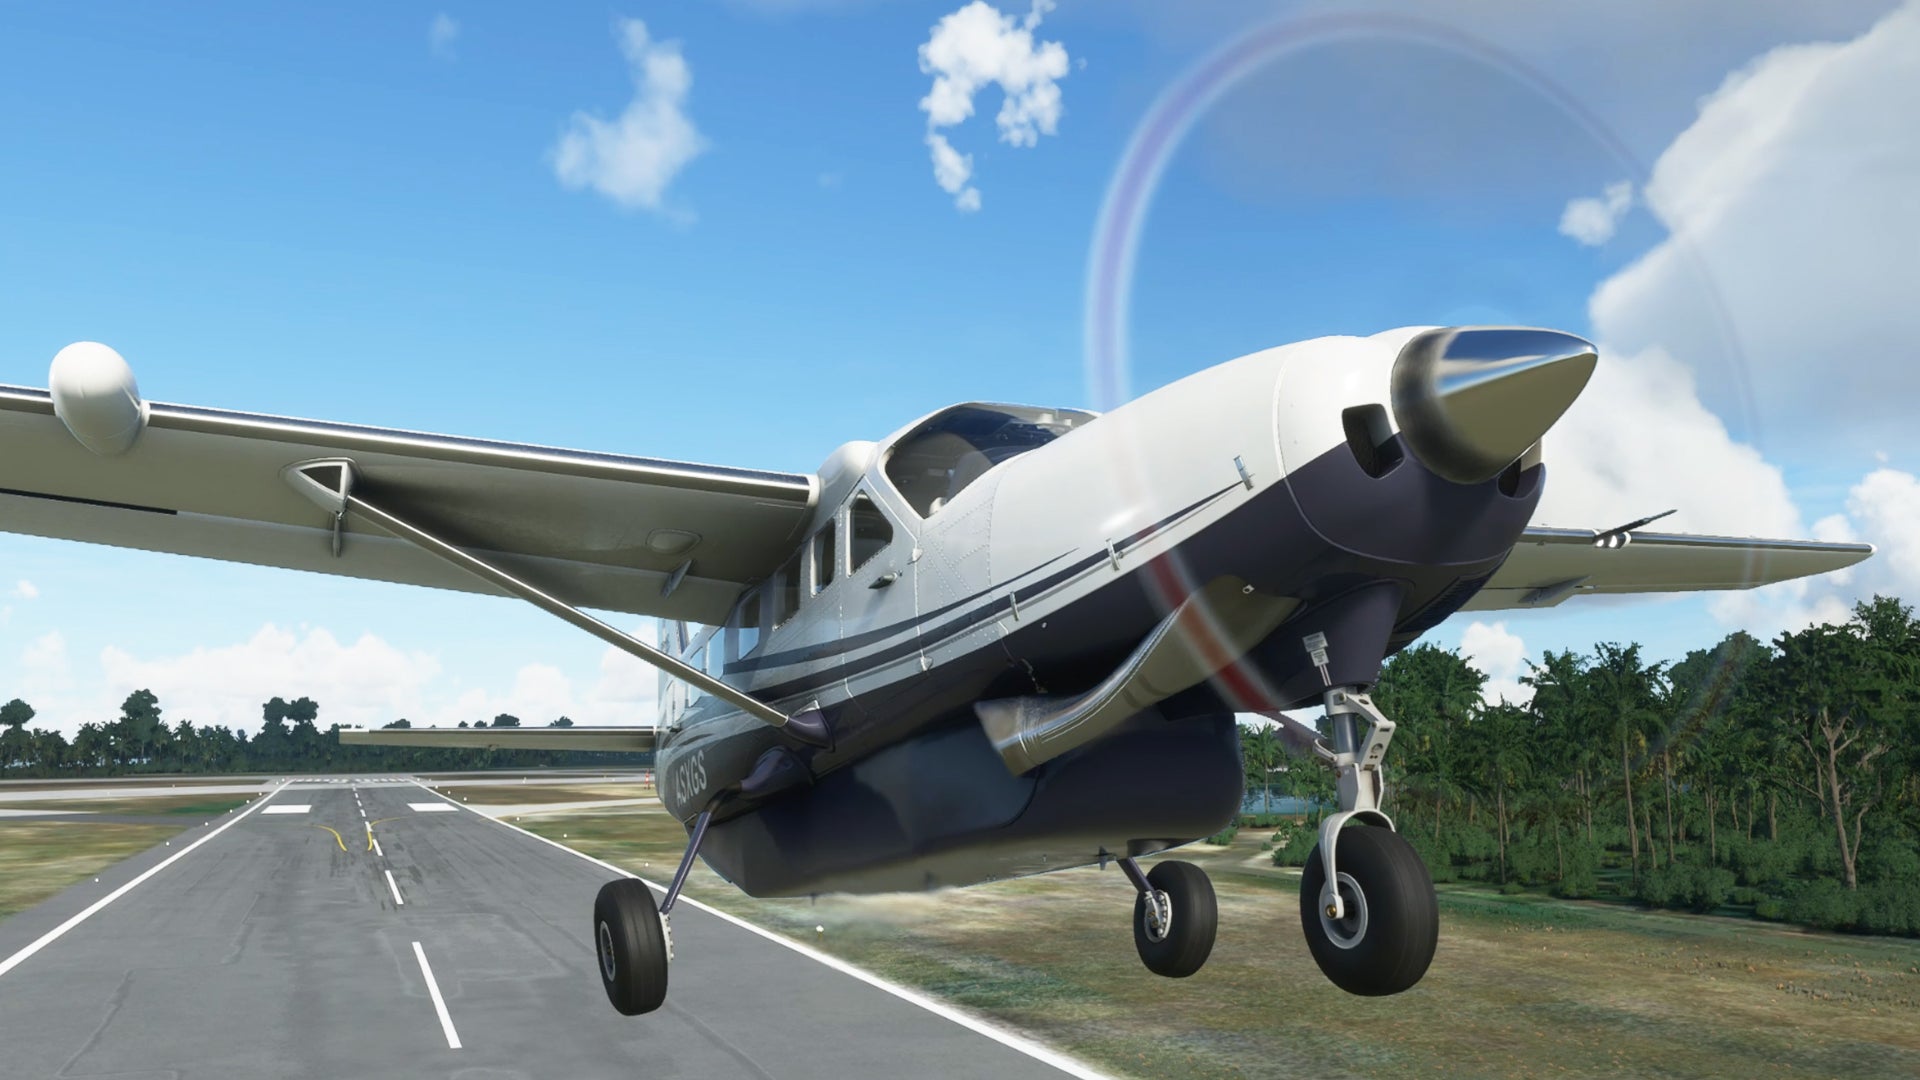
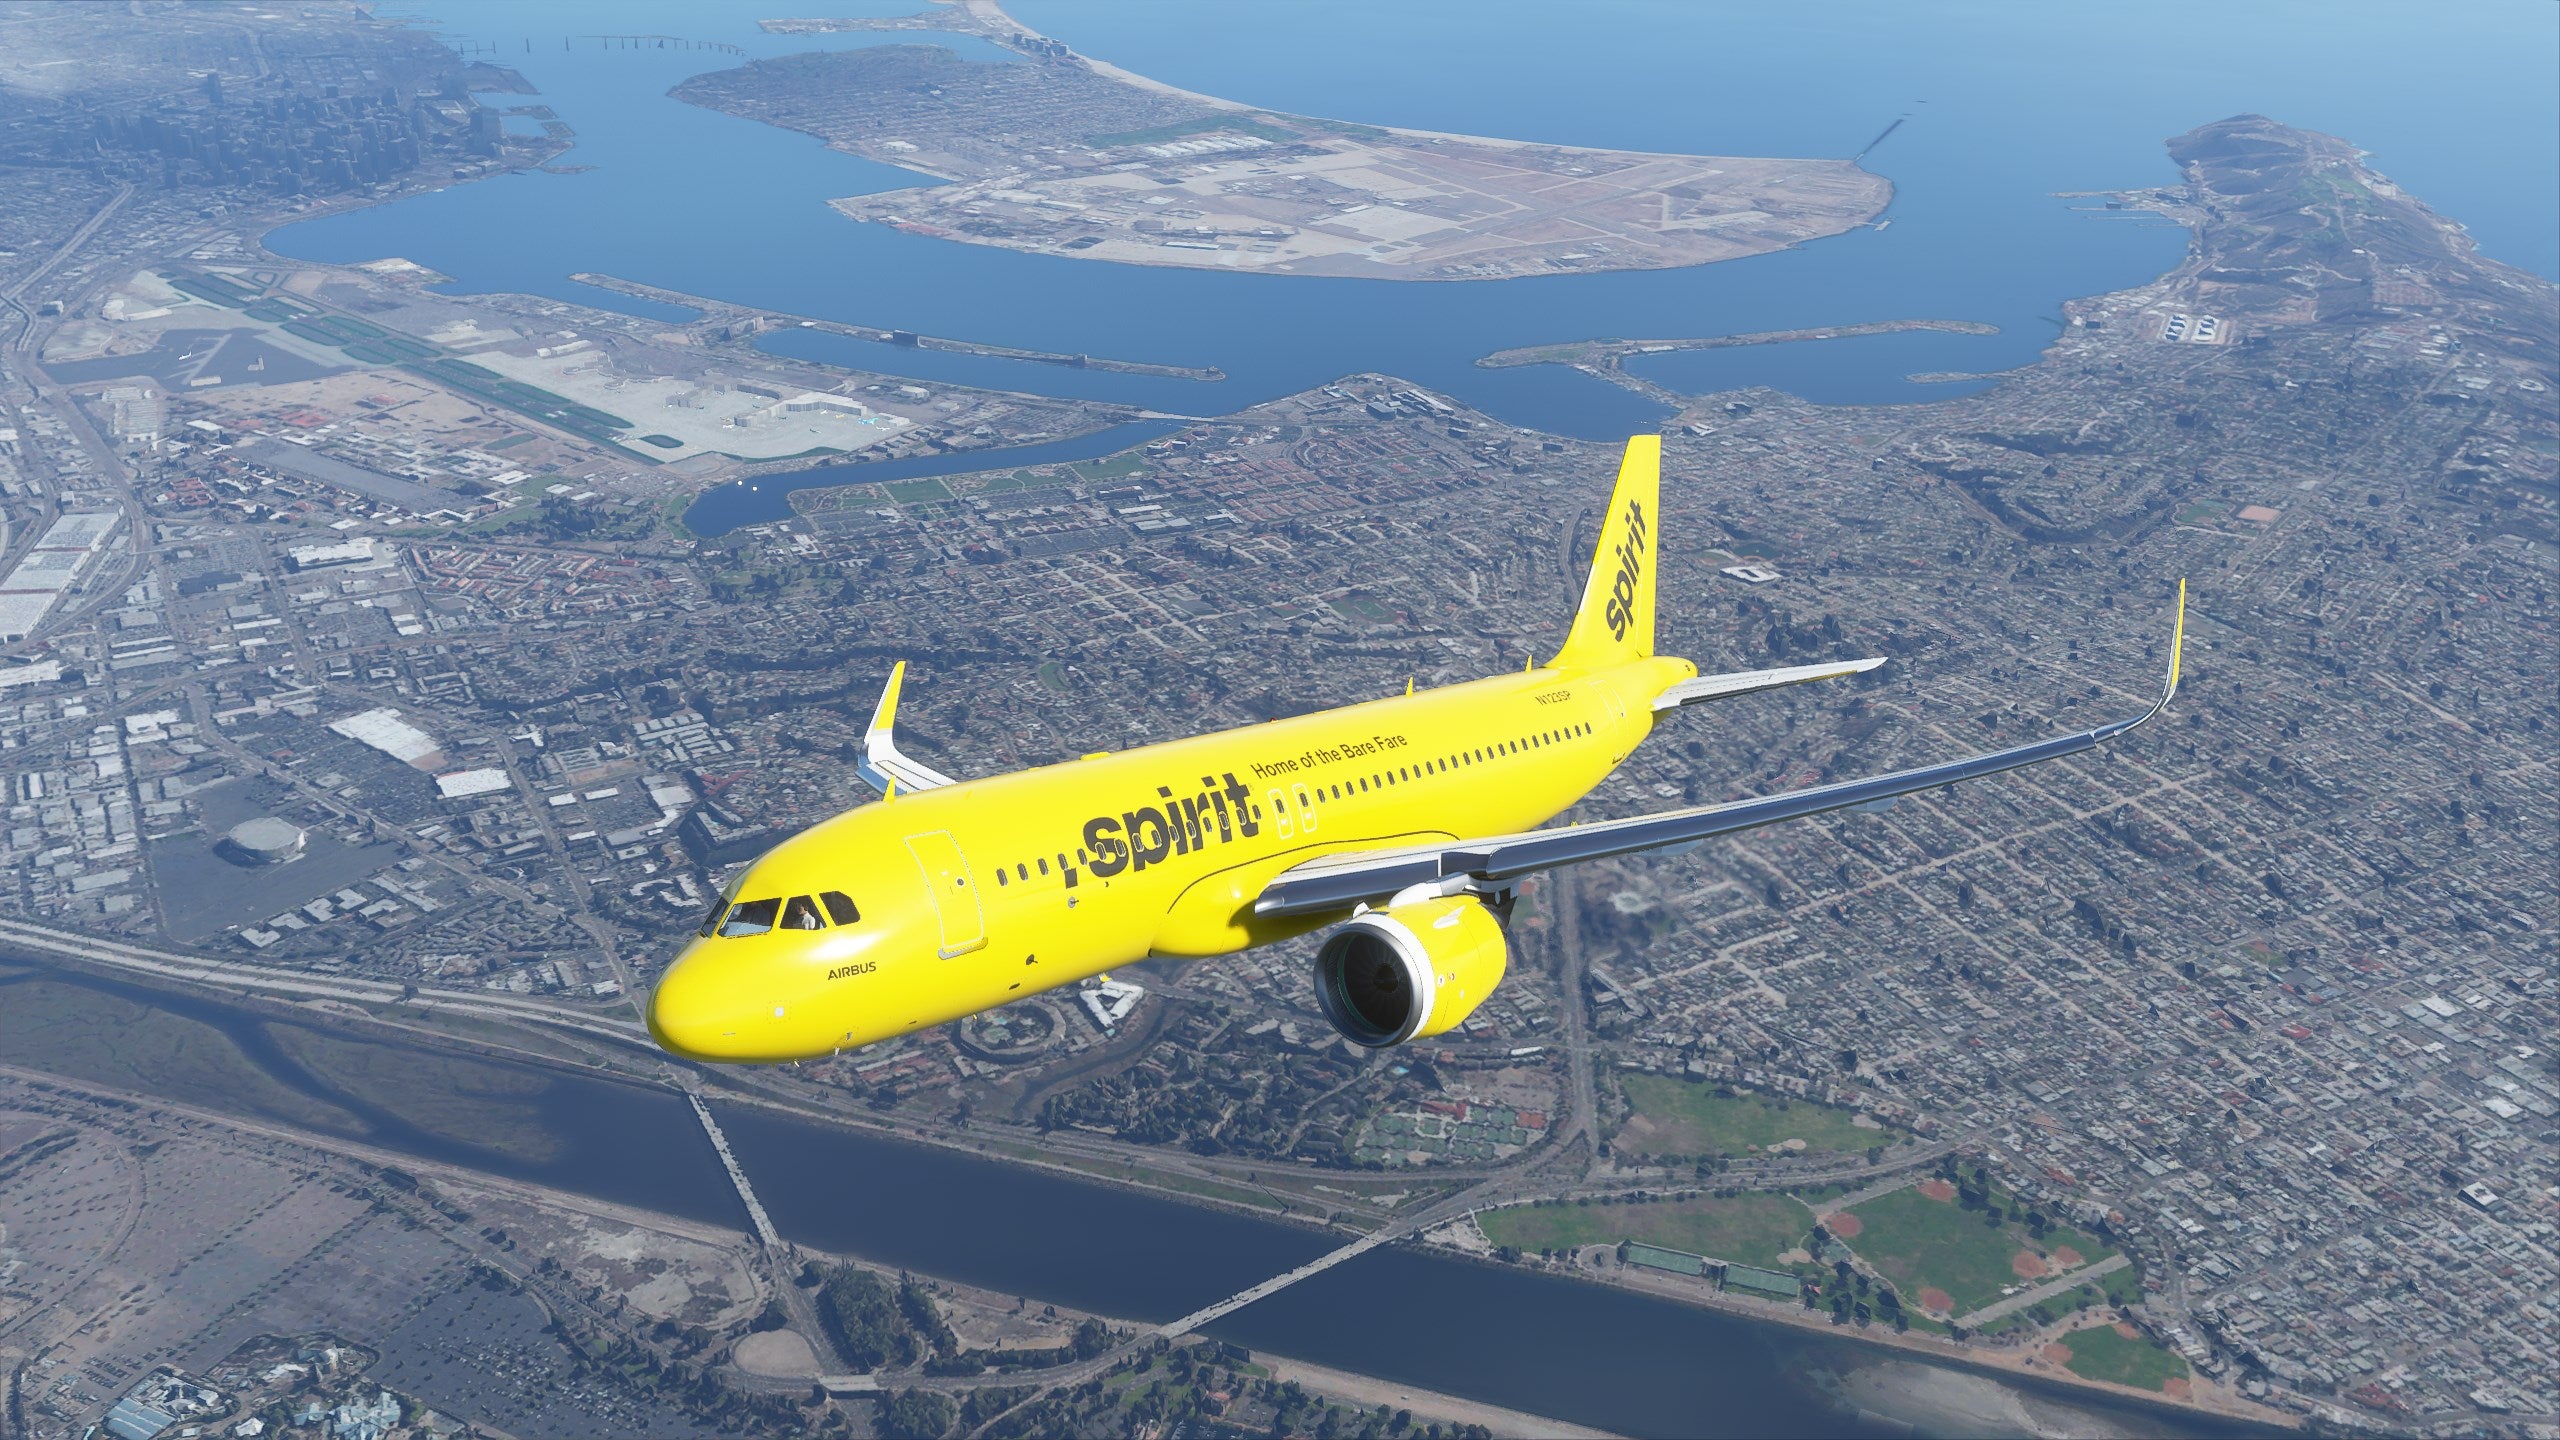
One thing that many simmers have been really looking forward to is adding liveries to their brand new Microsoft Flight Simulator. Whilst the default Airbus and Boeing liveries look great, having paint work that represents your favourite airline is something we know experienced simmers and newcomers want to have in their simulator.
Some talented people have already found ways to make some nice looking A320neo paints. They include Delta Airlines, Spirit, Air Canada and more. They start to make the simulator feel more realistic and lifelike as you can now start to simulate flights from these particular airlines and get some great screenshots from them.
For those unsure, "Livery" is the way an aircraft looks for specific airlines. This includes colour, type font, logos usage etc. Some airlines have multiple liveries (see British Airways) to celebrate events or as marketing opportunities.
Here at SoFly, we want you to have the best experience possible with Flight Simulator. So alongside our Guide to Flight Simulator (it's worth checking out), we have put together this quick tutorial on how to install liveries into Microsoft Flight Simulator.
How to Install Liveries Into Microsoft Flight Simulator
Step 1 - Downloading Liveries
The first step is to download the liveries already created. Whilst there will be plenty more to choose from, the initial ones we found are hosted on Mega. This link currently works and includes the following airlines:
- Air China
- Delta
- Ferrari
- Spirit
- Saudi Arabia Airlines
Update: A new server called Flightsim Onestop has appeared where you can download liveries created by the community.
UPDATE: Discover even more at the official Microsoft Flight Simulator forums. (No downloads, just imagery)
Discord Community, FlightSim Onestop
Step 2 - Go to Your Community Directory
Finding your Community Director is easy to do.
If you have installed the simulator to a custom drive, you will need to navigate to that drive and open it up, There you will find two folders: Community and Official.
Click and open the "Community" folder.

If you don't have this folder, open up Windows' File Explorer and type the following into the folder structure bar.
%localappdata%\Packages\Microsoft.FlightSimulator_8wekyb3d8bbwe\LocalCache\Packages\Community

Step 3 - Installing the Liveries
With the files now downloaded to your PC, and the correct folder open, now it's time to install the liveries. To do so, you will need to place the downloaded folder into your "Community" directory.
The download link above simply calls the folder "liveries", but we would recommend you change it to something more memorable such as A320NEO LIVERIES. This way you can be sure what you may be deleting or installing.
To move the folder, you can either cut and paste or drag it across. Whichever you find easiest.

That's it, the liveries are now in the simulator ready to be used.
Step 4 - Loading up Your Aircraft (In the Paint)
After you have completed step 3, you can now load up your Flight Simulator. Assuming you're on the Global Map, click on 'Aircraft Selection' followed by the A320NEO.

On the left-hand side, you will see a tab called "Liveries". Clicking that will now show you the liveries you have just installed.

Select which livery you wish to fly and load up your flight as normal.
Step 5 - Show Us Your Best Screenshots on Our Facebook or Twitter Pages

Get The Most out of Your Flight Simulator
Download our stunning 120-page guide to help you with the latest flight simulator. Now that you have your favourite livery in the simulator, it's time to learn how to fly, communicate with ATC and get the best performance from your simulator.

